Backyard Raku with DIY Gas Kiln
We're we left off...
In part one of this project, I'd managed to successfully turn clay I'd dug from the ground into ceramic using a DIY backyard wood-fired kiln. There were some issues though. While I'd succeeded in making ceramic out of clay, the pieces were pretty fragile and porous, so I'd likely only reached a very low fire. Of course, I was only burning the kiln for a couple of hours, not the full-day firings of the big professional wood kilns I see online. Burning that much wood just wasn't practical for me. I also wanted to be able to glaze the pieces, and the commercial raku glaze I got recommended firing at 1,900°F, which sounded much hotter than I was reaching, so I began exploring how to make my own gas kiln.
To the workshop!
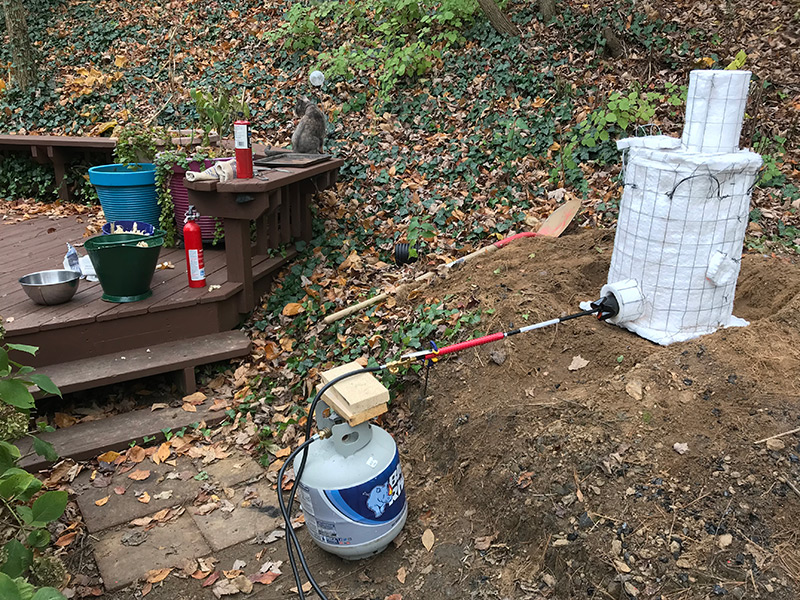
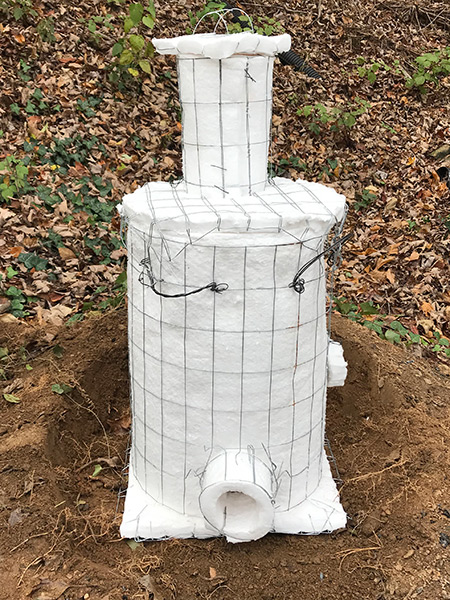
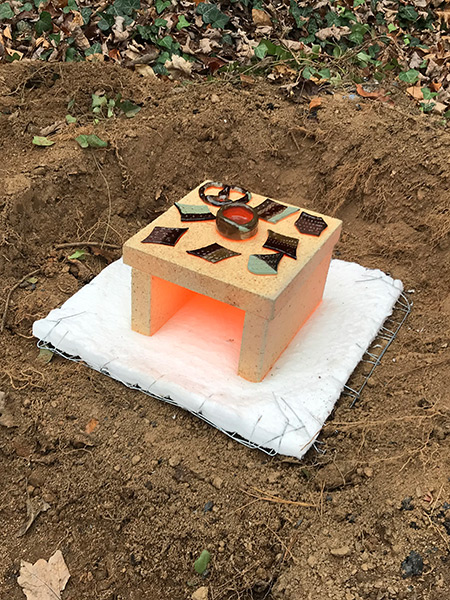
Researching online, the process seemed pretty simple, but I had trouble finding a metal trash in a plastic world, so I switched to a wire fencing structure lined with ceramic insulation. Since I could make the fencing any size/shape I wanted, I sized it to fit perfectly over two of my fire bricks. I got two rolls of 36x48x1 insulation, which claimed to be good up to 2,400°F. One sheet became the inside liner with very little cutting, and the other formed the base, top, chimney, and an overlay to cover the seam. It cut and went together easily, though gloves and a mask are a must since the fibers can irritate skin and breathing them is I used steel wire to attach the insulation to the fencing frame. I didn't have any ceramic "buttons" to run the wire through, but it seemed to hold together without the. A propane burner wand from my local hardware store and a full BBQ propane tank provided the heat, and 6 refractory bricks served as an elevated kiln shelf so the fire will not directly hit the pieces.
First gas firings
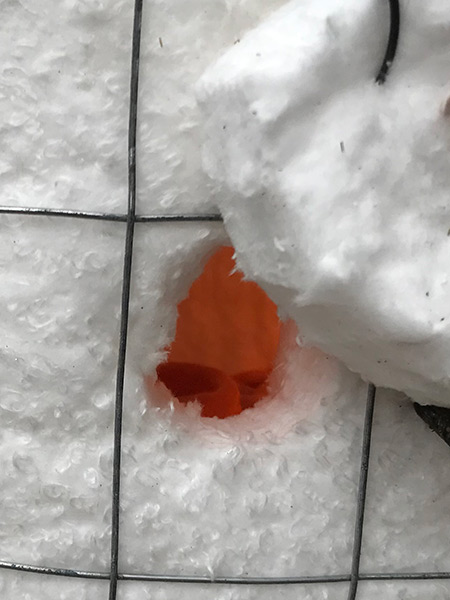
I had no idea what to expect on the first firing, but the kiln quickly heated to a dull red glow, then bright red, and on to a bright orange. Even at this color, the outside of the kiln was barely hot, so the insulation is really doing its job! I didn't have any way to gauge temperature other than this color, and whatever I saw through the covered peephole I put in the side. It looked like the glaze had melted, so I removed the top of the kiln to put the pieces in a reduction chamber. The fire bricks and the pieces glowed orange, so I was pretty sure I'd gotten hot enough. I dropped the pieces into an ash can filled with newspaper and wood shavings, which ignited to burn up the oxygen, and to my utter astonishment, they came out looking like raku! I even got some really nice shiny copper on the little pinch pot I had volunteered as a guinea pig. Nothing exploded, and the only casualty was a test tile that got some glaze on the back, fusing it to one of my bricks.
Some consistency problems popped up on the second and third firings though. I had trouble recreating that beautiful copper, and more troubling, I was getting bubbles and ugly discolored patches on the glaze - ruining a couple of pieces, which were recycled into grog. I was either too hot, or too cold, or the clay was outgassing, or the glaze was too thick, or they got too close to the flame, or something was funky in the reduction, or any combination of these! Ugh! The obvious first step was to determine what temperature I was actually hitting, so Christmas provided me a shiny little k-type thermocouple with a 2,500°F range. I poked the sensor through the side of the kiln, and also took the opportunity to turn the top so that the chimney was above the torch hole. The idea was to make the heat travel around the inside of the kiln more instead of just hitting the back wall and going straight up out the chimney. Now, it had to make an "S" with the pieces in the middle of that path
Finally, some precision
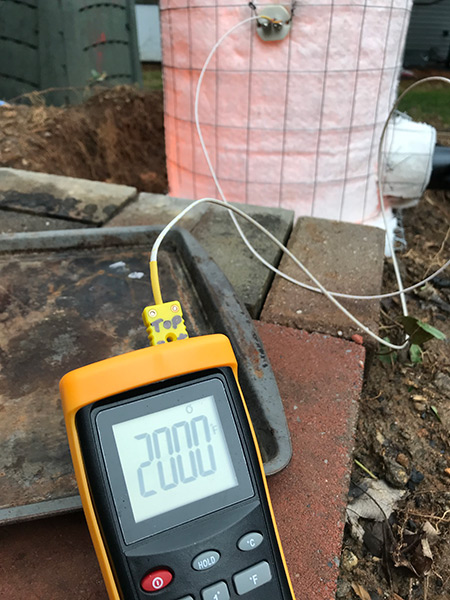
For my test firing, I'd decided to try to do a bisque fire and see how hot I could get the kiln. To my surprise, I easily shot up past 1,800°F and reached 2,000°F in about 30 minutes (rate was about a degree every second), and at that temp the burner still not at full-blast. I was certainly getting things hot enough, so my previous problems were likely either too much heat, or maybe outgassing as things like carbon in the clay burned off. The kiln glowed a vivid yellow-orange, an I held it there for 20 min before slowly backing it down to under 1,000°F. I then sealed up the kiln my covering the burner hole and chimney with little insulation plugs and letting it slowly cool over the span of 2 or 3 hours before finally taking the top off. The pieces came out feeling the way I'd expect bisqueware to feel. They were a lot stronger than before, and with a healthy "ping" when I flicked a finger against the rim - not a stoneware pitched ping, but definitely a lot more robust than anything I fired with wood.
Going for copper
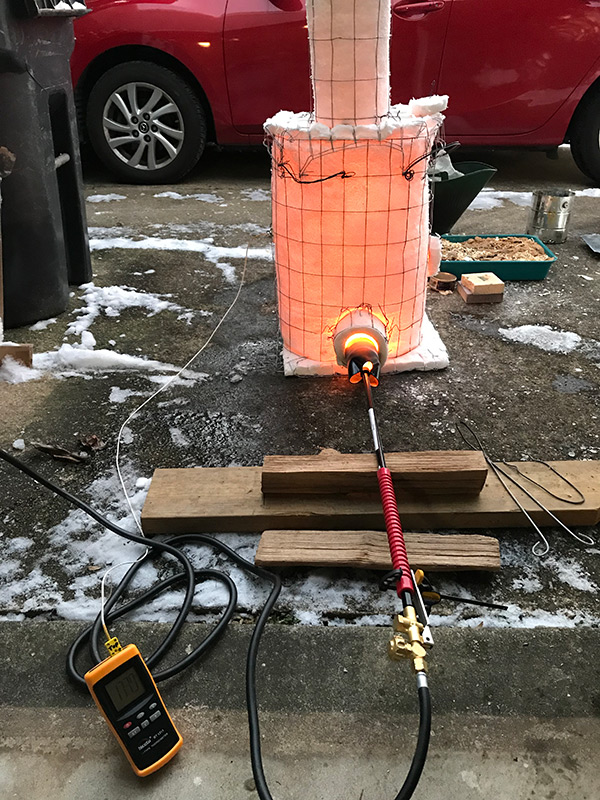
For my first temperature controlled glaze firing I planned to reach 1,900°F, hold that temperature for a while, then lower it a hundred degrees or so and hold that for a little while before popping the top and doing the raku reduction. My reasoning was that this would give any imperfections in the glaze time to smooth over, or so I hoped. I'd actually spent some time on the pieces in this firing, so I felt some pressure not to ruin this batch. When it was time fire, Mother Nature had finally dropped some snow on us, so I had to relocate my whole setup to the cement driveway, and then fight with the nearly empty propane tank to coax the gas out in the cold temps, but I was able to hit the temperature marks as planned with a firing time of right around an hour.
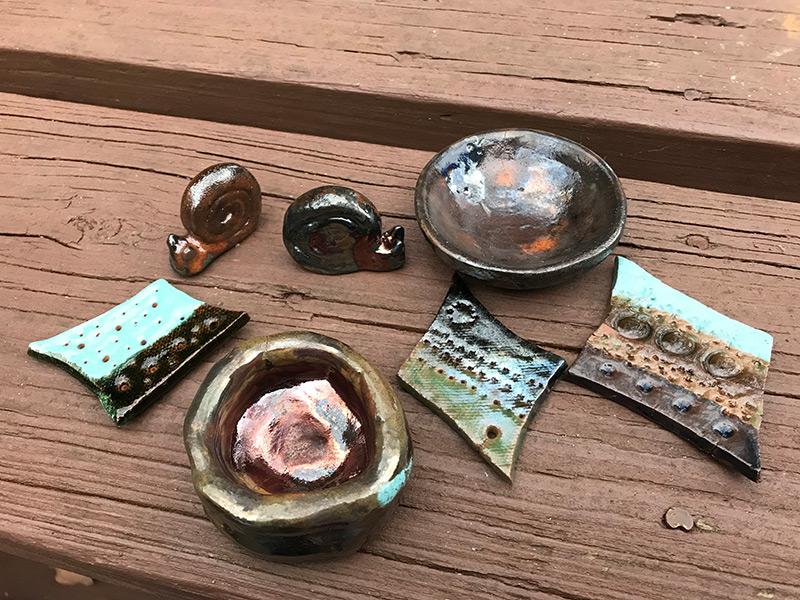
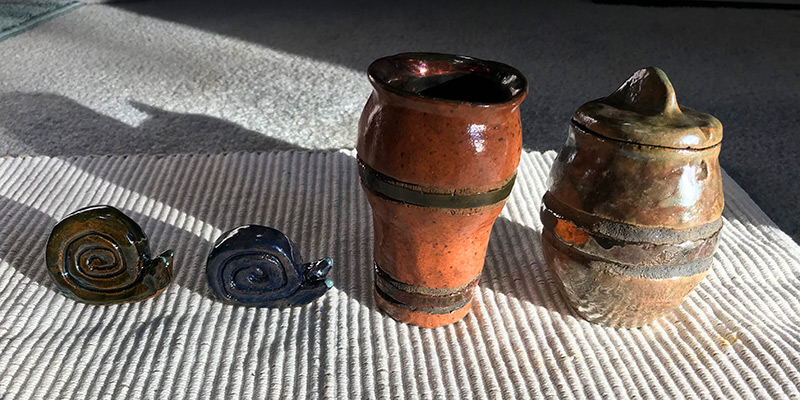
The results were very encouraging. Nothing cracked, and the metallic colors were present in places, but not everywhere. The same glaze could be bright copper, silver, black or a brownish red, sometimes on the same piece. I'd been experimenting with different reduction methods, including putting a bucket over top of the burning pieces, or covering a burning bucket, but there didn't seem to be a clear winner. Raku is a chaotic process, and that's part of the fun. You never know what you're going to get.
Back to the clay
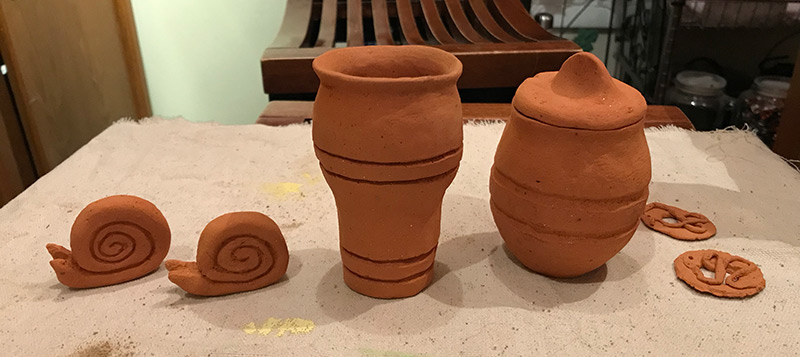
At this point, I've nearly exhausted my first big batch of refined wild clay, so I shifted my focus back to the refinement process, and try to address my limp clay issues. I did some experimentation with the last small ball that was left, and whatever had accumulated in my slip bucket. Using a glass cylinder (flower vase), I was surprised to see a thick darker layer settle to the bottom when I suspended the clay in water. This was clay I'd already "refined" once, so my previous method must have included a lot more silt than I had thought. Once enough water was removed to make the clay workable, the elasticity was MUCH improved. I added some fine sand and grog for tempering, and was very pleased with the feel.
I noticed that while my previous clay was difficult to work with, it was incredibly thermal shock resilient. I took a thin test tile out of the kiln hot and dunked it in water while it was still a dull red hot and it didn't crack! I suspect that silt is a curse and a blessing, making the clay limp, but also acting as a very effective tempering agent. For this reason, I saved the silt I separated out, and may try adding it back in a controlled manner if I start to get cracking. I've also got a couple of other locations scoped out to gather clay from, but I need the ground to thaw first.