DIY Ceramics from Wild Clay
Digging in the Dirt
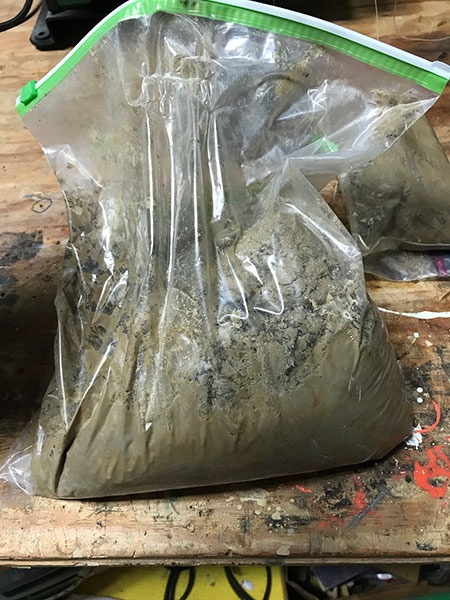
Raw clay straight from the ground
While I out doing trail work, I came across a downed tree whose upturned root system had exposed an ample amount of light gray clay. I used some of it to fill a muddy hole in the trail, and it hardened up beautifully. That got me thinking about a video I saw on primitive technology and that everything around me had "kaolin" or "clay" in its name. The Newark China Clay Company was once located just down the road, so could I use this wild clay to actually make pottery myself? My parents' property has a creek behind it and its banks are almost entirely made of the gray clay, so I collected a couple of small plastic bags of the stuff to experiment.
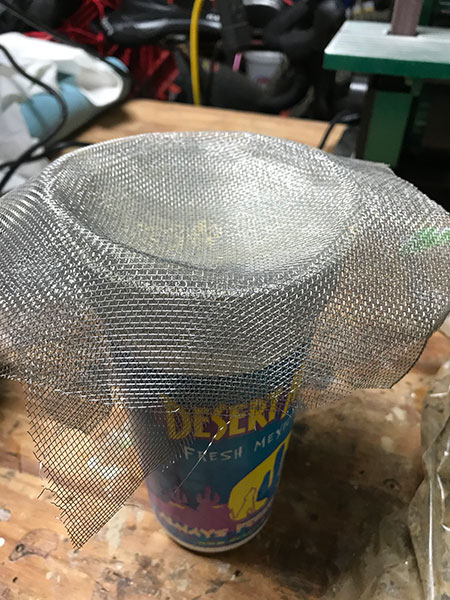
My original screen. I later build a bucket-sized one raw clay
A little Googling told me I needed to screen and filter the clay, but all I needed for that was a bit of window screen, a bucket and an old bed sheet. I mixed the clay with water until it was completely dissolved, then let it sit for an hour or two. Any sand or rocks settled to the bottom while the finer clay particles remained suspended in the water. I then carefully poured the clay water through a tripled piece of window screen, being careful to stop before I poured out the sediment at the bottom. A surprising amount of organic bits were caught in the screen, including sticks, roots and leaves, and even a few unlucky bugs. I repeated this process a few times until I wasn't seeing sand or bugs anymore.
Now, I had to remove the water I'd added. The leading experts in digging your own clay all recommended filtering through a doubled bed sheet. I expected this process to be faster, but it actually took many days of dripping into a bucket to bring the clay to the consistency of a thick slip. I later learned that hanging it in the sun really speeds up the process. Once it seemed to be more solid than liquid, I spread it out on board to dry enough to be workable. A plaster block would have been better, but I'd already made quite a mess of my workshop at this point without introducing plaster.
At first glance, the clay looked pretty much like what I expect clay to look like. Once I started building, I did note that while my clay had adequate plasticity (it didn't crack or crumble), it felt a little "mushy". Building anything thin and tall tended to cause it to sag, so I scaled down my test pieces, and also formed a little bowl over a form of window screen to keep it from deforming while it dried.
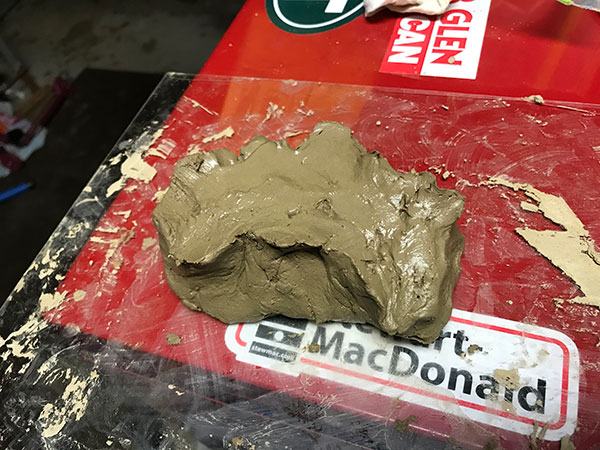
Starting to look like pottery clay.
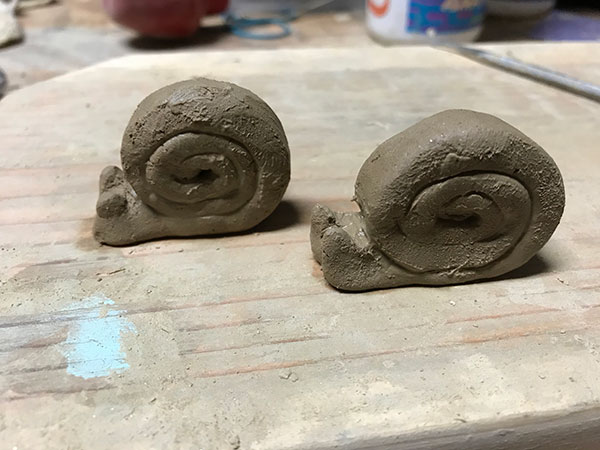
Two brave snails were created to help test the kiln. While the clay was a little difficult to work when wet, it carved and sanded very well once leather-hard.
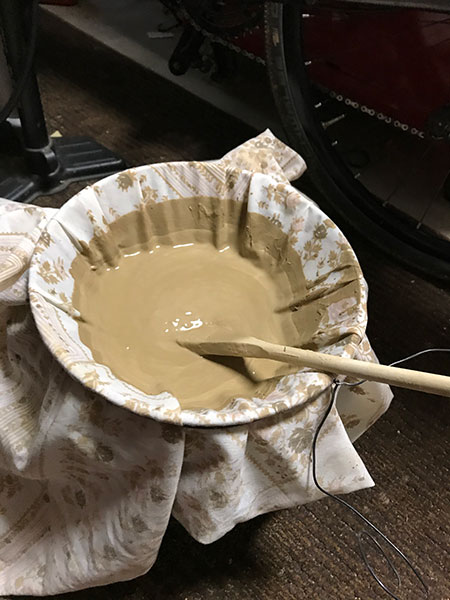
Filtering through a bed sheet. This is after a few days when the clay had started to thicken. A turkey baster was also used to suck out any clear water from the surface to speed things up.
Fire Makes it Good
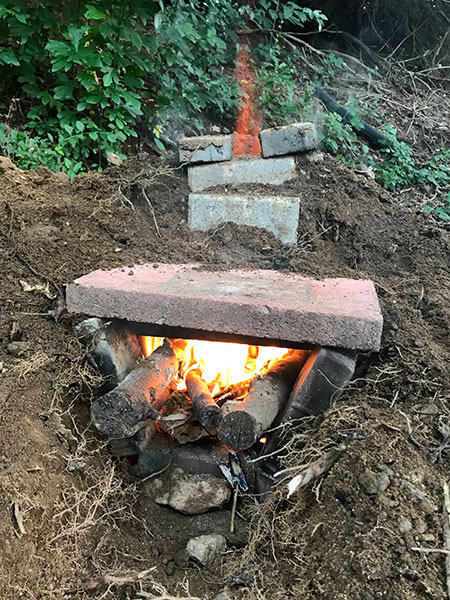
My little kiln blazing at full-power.
After doing a couple of small POC tests with a propane torch on a dried coin-sized piece of clay, I determined that it was actually going to fire into ceramic. More Googling yielded news that a wood fired backyard kiln was capable of reaching low-fire temperatures. Some people even used a barbecue grill and charcoal with some success.
I decided to go the "brick kiln" route. I had a low pile of dirt in my yard that I dug out a bit, then constructed a "tunnel" I could build a fire in, a little shelf for the pieces to sit on, and a chimney. I used some leftover unrefined clay as mortar to seal the gaps between bricks.
I followed a suggestion that I bake the pieces in a 190°F oven for a little while before firing just to make sure they are completely dry. Then, I placed them in my kiln and started lighting things on fire. Before long, I had a good fire going with a draft pulling air in the front and flames licking out of the chimney. I didn't have a good way of observing my pieces in there to see if they reached the required red glow. A pyrometer would also have been helpful. Instead, I tried a bit of forced air with a fireplace bellows to make sure I got as much heat as possible out of my wood fire. I later tried an air compressor, which was less work, but the noise spoiled the primitive technology atmosphere. A foot-operated bellows would be ideal.
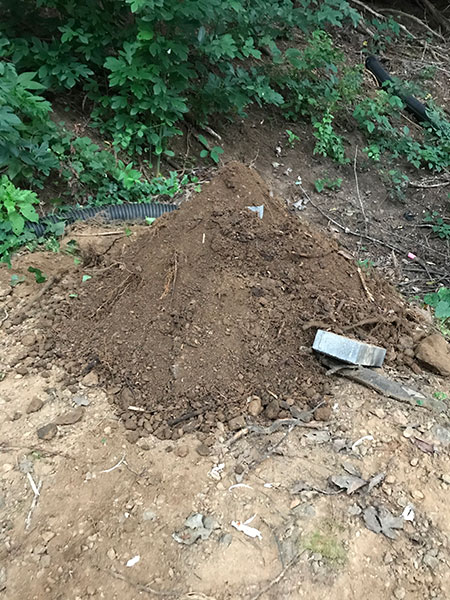
Cooling overnight under a dirt blanket.
I kept the fire going strong for about an hour before letting it burn down to just coals. It had gotten late, and I wanted to let it cool as slowly as possible, so I placed bricks over the chimney and front, and buried the whole kiln in dirt until I didn't see any smoke. I checked on it an hour later, and the ground was quite warm, but with it all safely contained underground, I went to bed and let it cool overnight.
Digging the kiln out in the morning, the bricks were still a little warm, but everything was cool enough to handle. My pieces had not cracked, and a gentle flick made a "ting" that told me they were no longer just dried clay. I brought them in to give them the final test. Would they dissolve in water? Rinsing and scrubbing with an old toothbrush told me I'd actually fired the clay - chemically removing the molecularly bound water to turn clay to ceramic. Success!
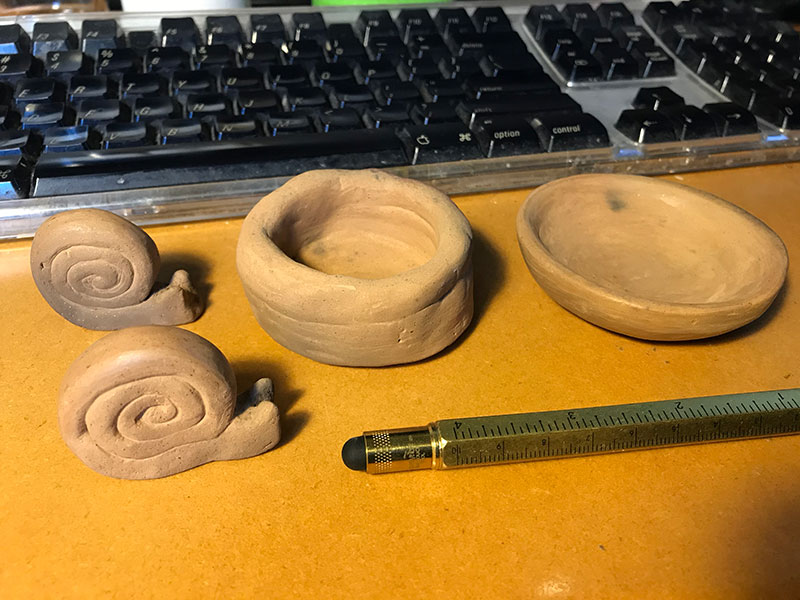
The finished pieces. The snail shells and the bowl on the right were burnished using a polished stone, which gave them a very nice smooth finish.
